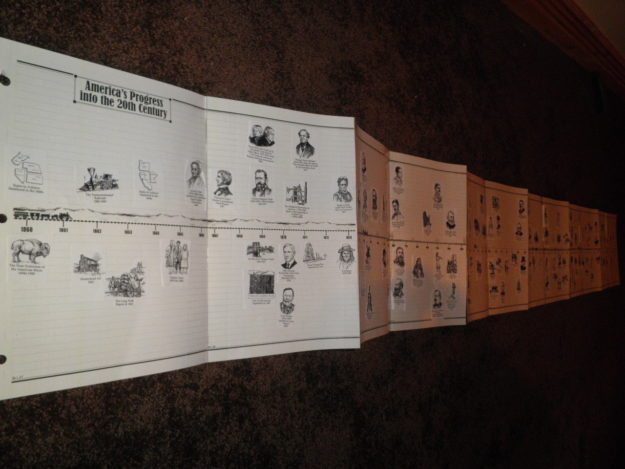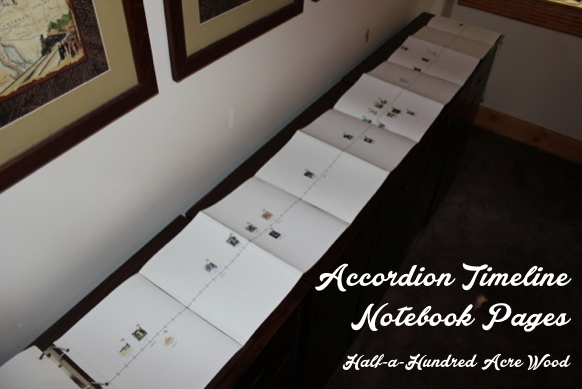
Throughout our history studies, we’ve enjoyed keeping a timeline – on the wall and in a notebook. Our first experience with using an accordion-style timeline was when we completed two Homeschool in the Woods Time Travelers History Studies three years ago.
Since then, our timeline-and-history-obsessed son has wanted to use an accordion timeline for his entire timeline notebook. (Note that it is not necessarily recommended to keep an accordion timeline for your entire timeline notebook because it is not as durable as having each page hole-punched, but… we’re doing it anyway. It’s just great to lay it out on the floor and see it all at the same time!)
We started out in 4000 BC with our timeline spaced in even increments, but as time passed (both in real life and in our notebook), we expanded the timeline, especially as we entered U.S. History and included U.S. Presidents and many more events occurring over a shorter time period. In our notebook, we will also include the accordion timelines we have completed for The Industrial Revolution through the Great Depression and World War II (and the many other Homeschool in the Woods studies we have completed).
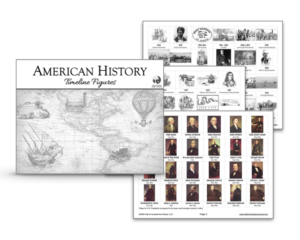
We recently created a concise set of timeline figures for our American history studies. If you’re studying American history, we’ve compiled a set of American history timeline figures that provide an overview of U.S. history from the early Native Americans through the present day, featuring 72 people and events from U.S. History along with the 45 U.S. Presidents, for a total of 117 timeline figures. It’s a simple way to get started with a timeline if you’re studying U.S. History.
Note that you do not need to make an accordion timeline to use these pages. You can just print and hole-punch to make a normal Book of Centuries.
Download the Timeline Notebook Templates
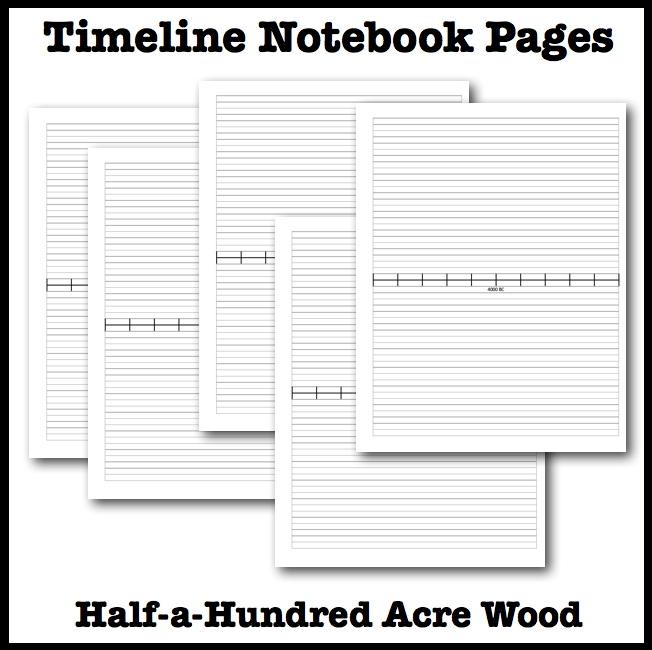
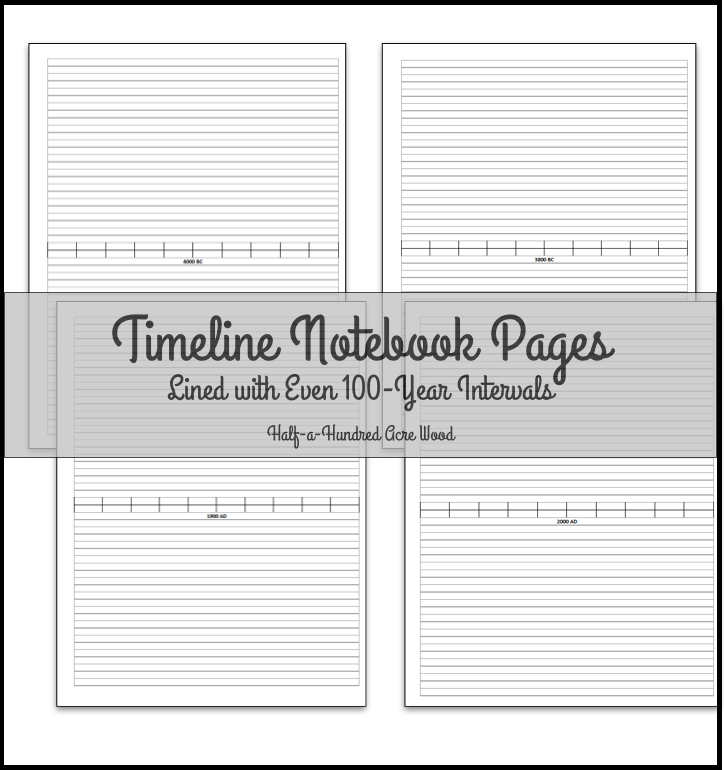
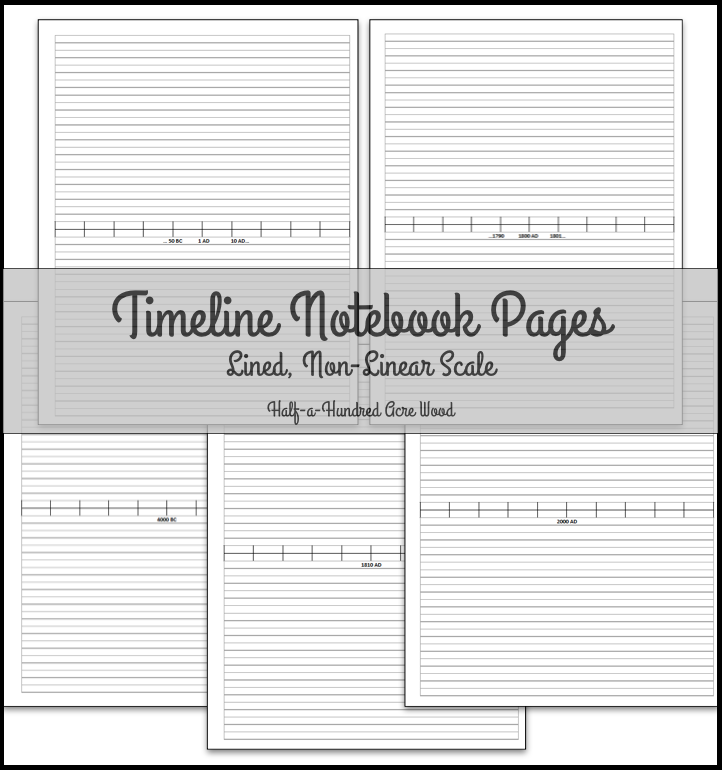
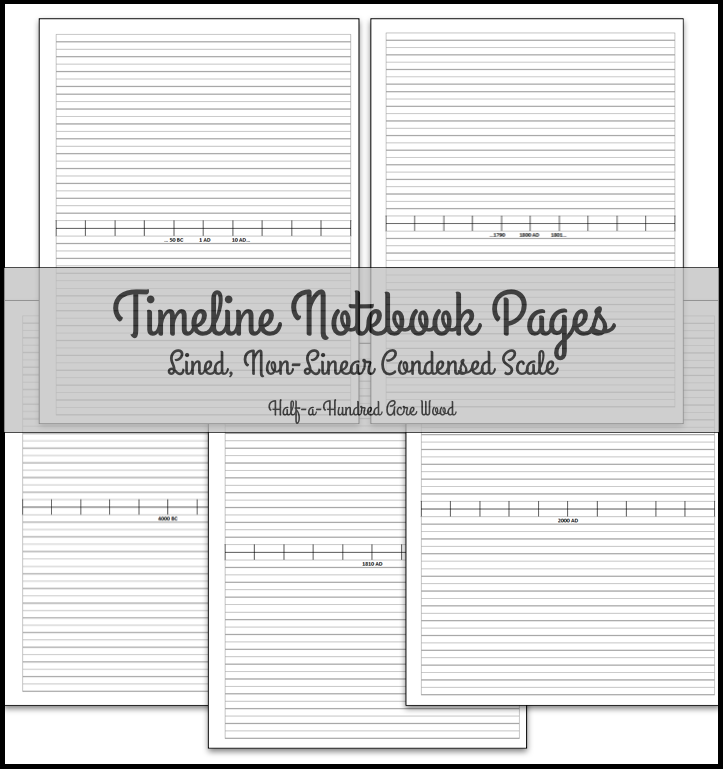
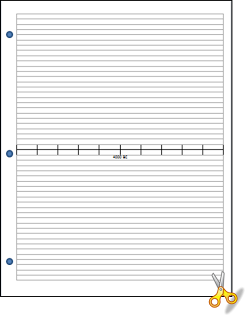
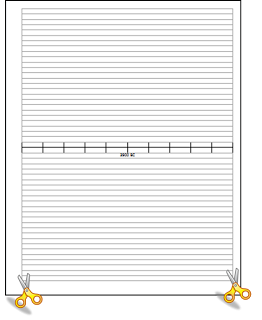
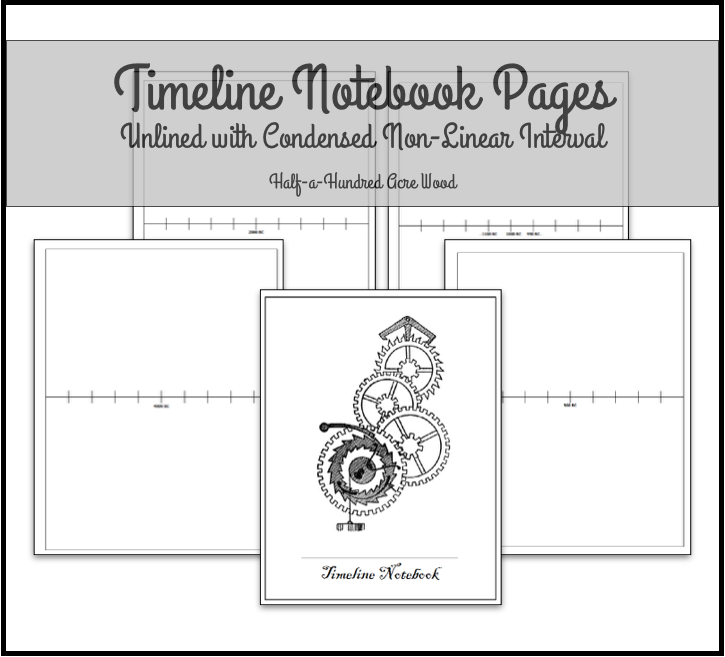
Lines are included in the first three timeline notebook templates below so that students can easily align clipart or write the timeline events in it neatly. A fourth version is included for those who would rather not have the lines. There are four timeline templates to choose from:
The century timeline template: evenly-spaced, 100-year intervals from 4000 BC to 2000 AD.
Non-linear timeline template: (“Non-linear” meaning not a consistent interval) 100-year intervals to 200BC, then 50-year intervals to 1500 AD, then 25-year intervals to 1700 AD, then 10-year intervals to 2010 AD. This accounts for the increase in the number of historically recorded events through history. We personally recommend a non-linear timeline over the evenly-spaced century timeline. Visit our “finished” timeline wall to see why!
Condensed non-linear timeline pages: Condensed, 46-page version of the non-linear timeline template. 1000-year intervals from 4000 BC to 1000 BC, then 500-year interval to year 0, then 100-year intervals to 1800 AD, then 10-year intervals to 2010 AD. If you are in Classical Conversations, this is probably the best choice for you, as it will minimize printing while still providing enough space for the timeline events.
Condensed non-linear timeline pages, no notebook lines. Same as above but with no notebook lines. Includes cover page.
If you need a page to take you through the year 2025, you can download one here: 2015-2025 page with guidelines | 2015-2025 page without guidelines
Each of the above files includes instructions on how to use these pages to make an accordion timeline for your notebook.
For a cover page to use with this timeline notebook, download our Timeline Notebook Title Page.
How to make an accordion timeline
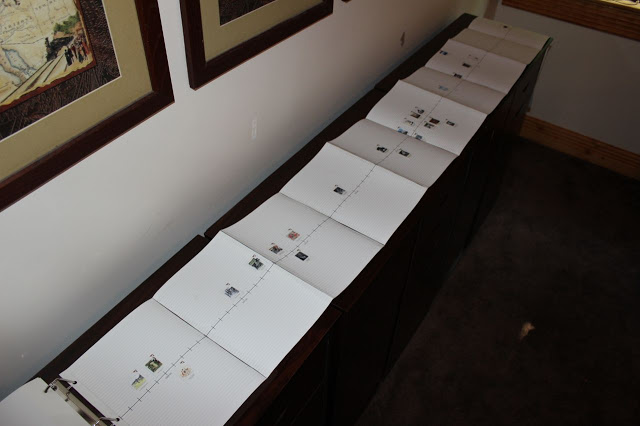
Print on cardstock paper for durability. Determine how much of the timeline you would like to see at one time. (For our purposes right now, we taped 10 pages together to span 1,000 years, for a total of six notebook accordion pages.) Hole punch the first page for that interval. (To reinforce the holes, tape the right edge/margin with clear packaging tape before hole punching.) Cut off the right edge margin.
Cut the left and right margins off of subsequent pages for the interval you have selected.
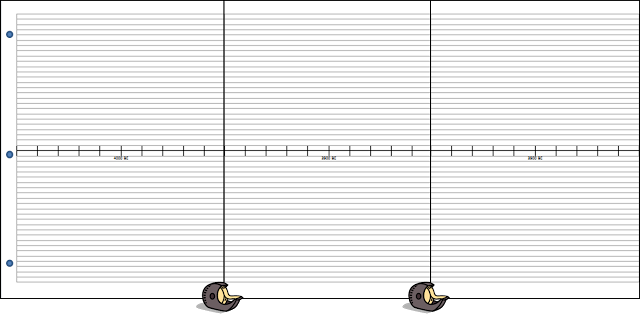
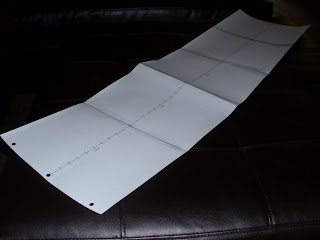
Align two pages at a time and tape with clear transparent tape, front and back. (You can leave a very small (<1mm) gap between pages as you tape so that it will fold more easily.) Continue to do this for the remaining pages for your selected interval of timeline. Accordion fold this interval and place into notebook.
First two sheets taped together:
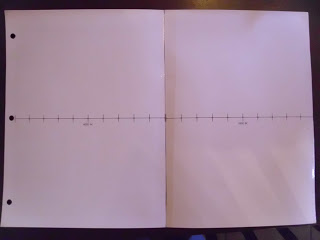
Multiple sheets taped together:
All sheets are accordion-folded to fit inside notebook:
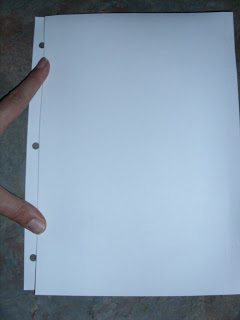
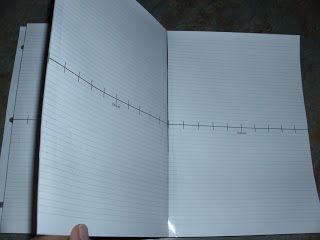
You can still flip through the pages as you would a regular timeline notebook, but you can also unfold each section of timeline to lay it out as one piece

For more information about types of timelines and the interval-spacing for timelines, visit Homeschool in the Woods Timeline Helps. And for more about the various types of timelines we have used, go to our previous Keeping a Timeline Post. And for introducing timelines, check out Lesson on Time, where you can gain an understanding of centuries by building a toothpick timeline.
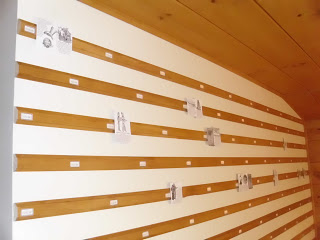
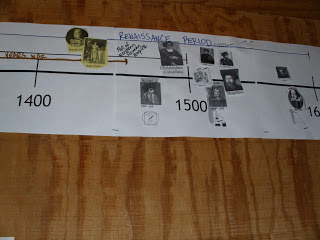
What about a wall timeline?
Here are a couple of versions of wall timelines we’ve had in the past.
Where to get timeline figures
- Clip-Art ETC
- Notebookingdiscovery.org provides free ones here. (Click on American History, Church History, or Scientists and then select the time intervals on the left side of the screen for the images.)
- Clip-art ETC.
- Classroom Clipart
- Google it!
Where do we get our timeline figures?
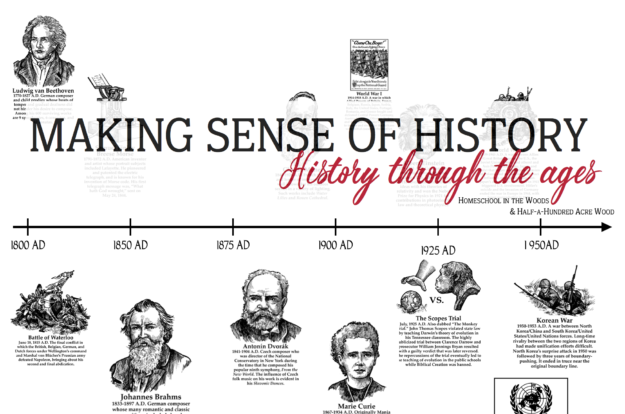
For our notebooks, we have used Homeschool in the Woods figures, which are the highest-quality timeline figures we have found. You can download a sample of History through the Ages Timeline Figures here under the “Samples” tab. These timeline figure sets include a fact with each person or event.
And now, we have a timeline figure match-up for The Story of the World. Click here to read more about it and to download a copy!
Our Timeline Wall: What We Learned
Understanding Centuries with a Toothpick Timeline
Timeline Thumbnails {Free printable}
Our Classical Notebook
Keeping a Timeline
Post originally written September 2012.

