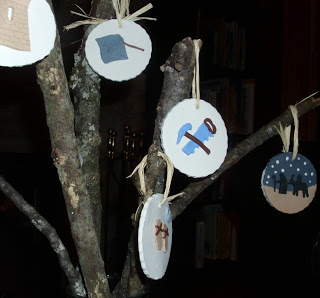
Last year, as I reflected upon our family’s Christmas traditions, I was introduced to an Advent activity called the Jesse Tree. Why I was in the dark so long about such a great way to celebrate the birth of Christ is beyond me. Since then, I have researched and thought about how to include this Christmas tradition in our home. And now, with the assistance of a very talented friend, we finally have our own set of Jesse Tree ornaments! And, boy, am I excited!!!
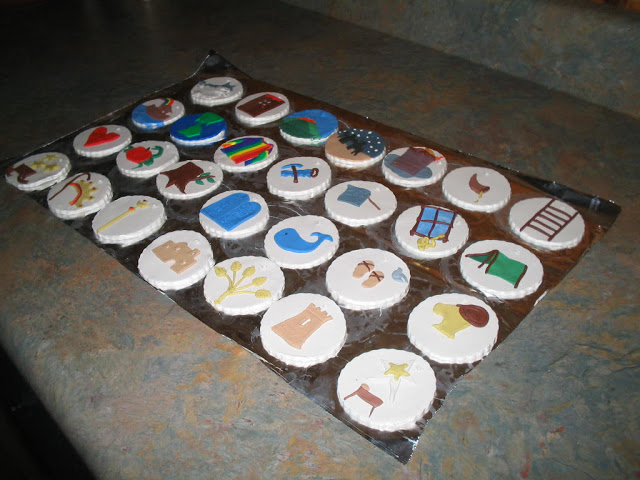
The Jesse Tree is a way of telling the story of Jesus’ genealogy and the historical account of God’s plan of redemption, starting with creation and following through to the birth of Christ. It includes an ornament and a scripture reading for each day of Advent.
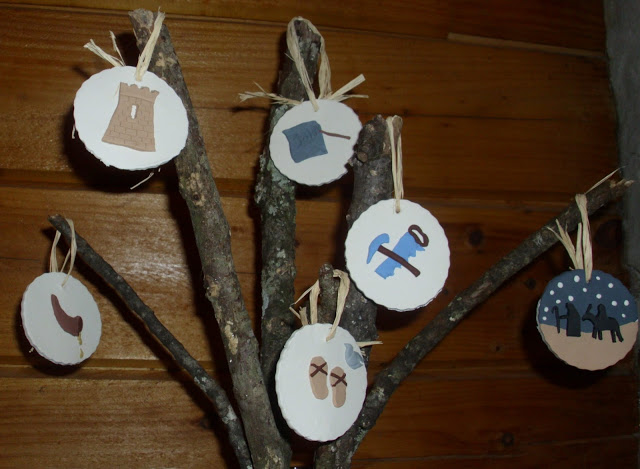
Our family used Ann Voskamp’s Advent Jesse Tree Devotional, Unwrapping the Greatest Gift with these ornaments.
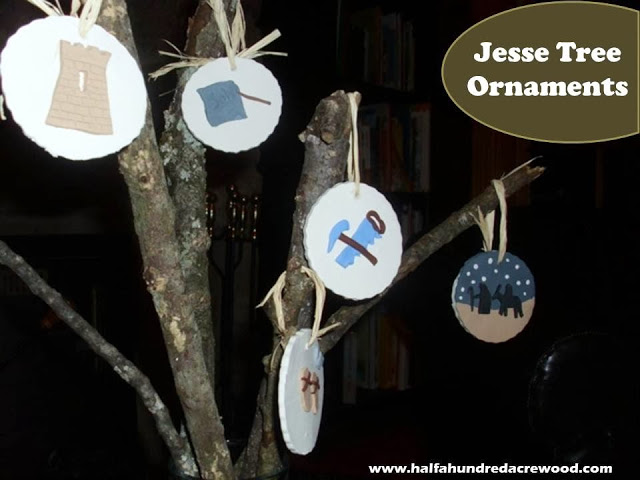
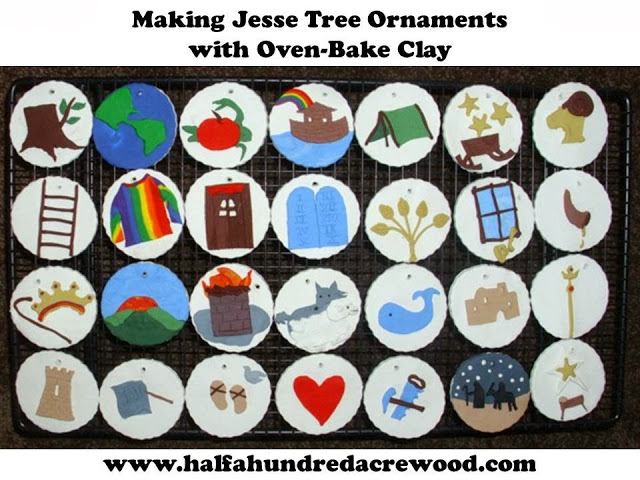
Our Jesse Tree Ornament Set…
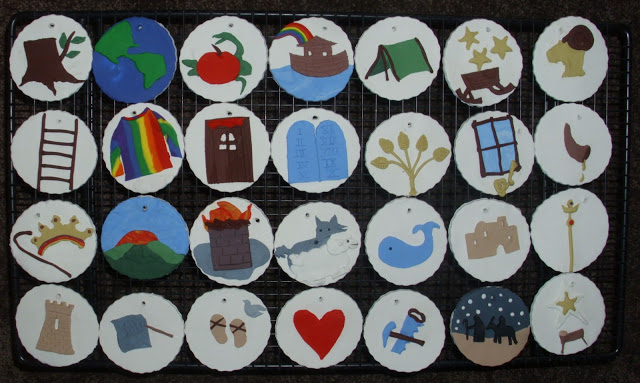
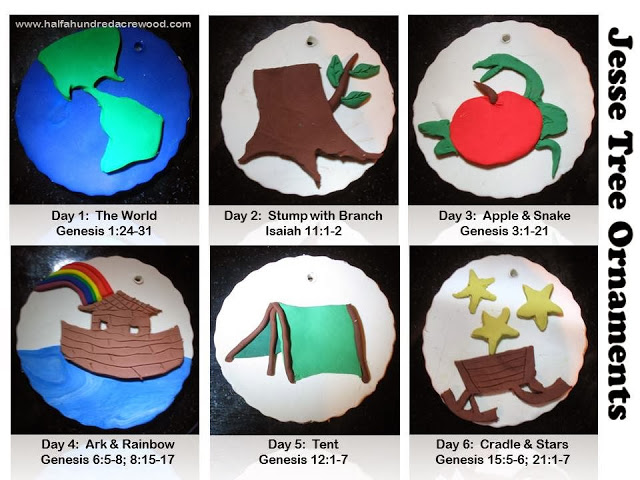
… made using a package of white Sculpey clay and colored Sculpey clay. No painting skills required.
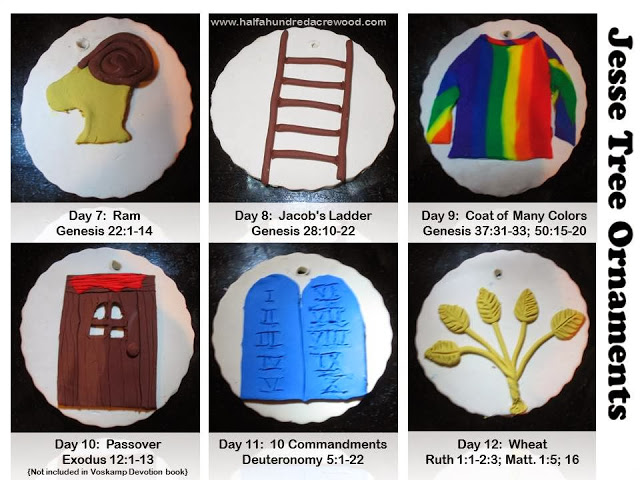
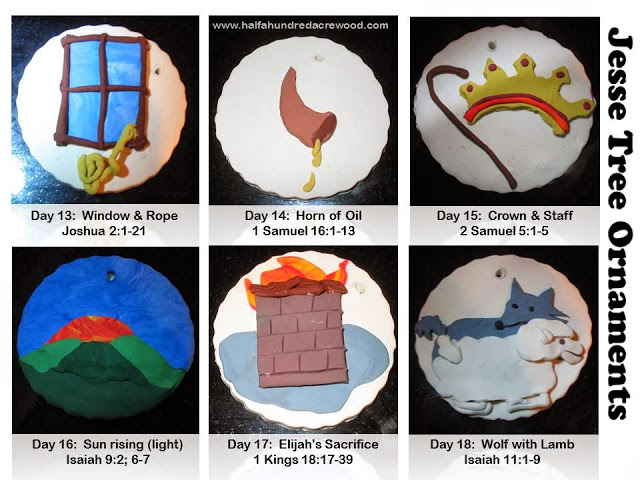
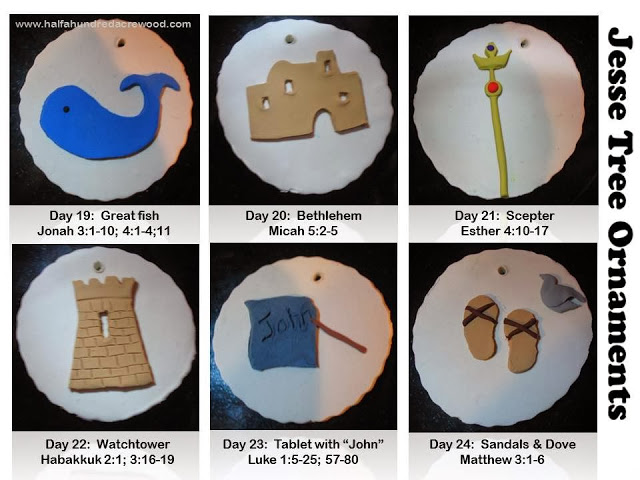
Below is a close-up of each of our ornaments along with the scripture reference.
Jesse Tree Ornament Instructions
- Work the white clay to make it pliable.
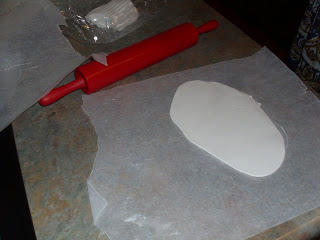
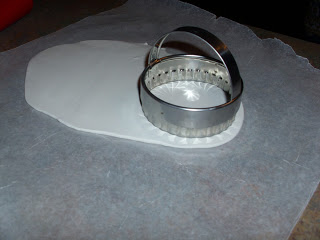
- Roll it out between two sheets of wax paper to an even thickness of up to about 1/4″. Use a biscuit or cookie cutter to cut out 28 circles.
- Place these circles onto a sheet of aluminum foil.
- Decide which ornament you want to try first (the simpler, the better). Select a color of Sculpey clay that you want to work with. For colors like gold or sky blue or fire, you will combine two or more different clay colors and work them together to the consistency you want (e.g., gold=yellow and tan; sky blue= white and blue; fire=yellow,orange and red).
- Roll out a small ball of color clay between two pieces of wax paper pressing it into a thickness of about 1/8″. You will have to cut out the shapes free-hand with the tools provided in the Sculpey clay package (make sure your package of Sculpey clay has them!), which is why we used the simple designs mostly from rca.org.
- For things like staffs or ropes, roll the clay into little tubes with your fingers instead of rolling them out flat with the rolling pin. For the coat of many colors, we lined up several “tubes” of colors and then rolled them flat. And then some things we simply shaped with our fingers (like the drops of oil in the horn).
- In most cases, we made the designs on the wax paper and then attached them to the white circles. A few times we had to “build” the ornament onto the white background. And the surfaces of some of the designs were etched with the tools (like the door and the tower).
- After all the ornaments are put together, poke a small hole through the top of each one for a ribbon or raffia to fit through. (We used a tool that had a tip that looked like an ice pick to do this. If you mess it up, you can use a small amount of water to smooth/repair the hole and try again.)
- Follow the instructions on the Sculpey package to bake them. (15 minutes for every 1/4″ of thickness at 250 degrees.)
For us, this was a trial-and-error method. We redid some ornaments several times. It took about 7 hours total to make the ornaments, but a lot of that was just getting organized and figuring out what we wanted to make. (Note that I’m somewhat inept at crafts, which was another reason it took us so long! Thank goodness we had a crafty friend helping us!)
Because it’s baking clay, the ornaments will not harden until they are actually baked. We completed these across two days, leaving them out overnight because we underestimated how long it would take!
This is just one of many ways to make these ornaments. You can print (and laminate!) your ornaments, have your children color paper ornaments, or buy and/or make an ornament craft for each devotion. Over the past year, I’ve come across felt ornaments, cross-stitched ornaments, embroidered ornaments, clay/ceramic ornaments, popsicle-stick ornaments, ball ornaments and the Jesse Tree Ornament Exchange.
To display, we will be using a jewelry tree, but it can just as easily be a bunch of sticks in a glass (like our Thanksgiving Tree)…
or a wall hanging, or even Tinker Toys!
I have included a plethora of printables, ornament ideas, and ways to display the Jesse Tree ornaments, just in case anyone out there wants to start one of their own. And… if you already have a Jesse Tree or other Advent tradition, feel free to comment and tell us about it! I’d be delighted to hear from you!
Free Jesse Tree Downloads and Printables
Jesse Tree Printable Packet from Confessions of a Homeschooler
Free Advent Reflections & Paper Ornaments
Jesse Tree Ornaments to Color with accompanying Scriptures and Devotions
Jesse Ornament Ideas:
Jesse Tree Ornament Exchange
Felt Ornaments
Stuffed Felt Ornament Example
Another example of Felt Jesse Tree Wall Hanging w/ Ornaments
Crafty Variety Ornament Example
Advent Calendar Project (storage idea)
Displaying the Jesse Tree:
A Homemade Stick Tree
Tabletop Centerpiece: Tinkertoys
Tabletop Centerpiece: Sticks
Tabletop Centerpiece: Wooden Dowel Rods
Wall Hanging: Quilt
Make a Fake Tree
Wooden Wall Plaque
Felt Tree
There shall come forth a Rod from the stem of Jesse,
And a Branch shall grow out of his roots.
Isaiah 11:1
Article updated and reposted from the archive. Original post written November 2012.

