Here we move on to Impressionism with a twist: depicting movement and motion.
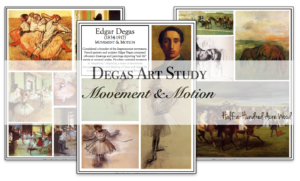
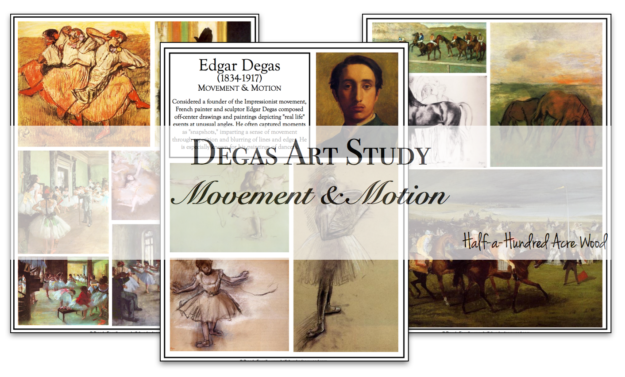
Edgar Degas composed off-center drawings and paintings depicting “real life” situations at unusual angles and many times he showed a sense of movement using repeated and blurred lines and edges. He is especially known for his paintings of dancers and horses. The Degas Picture Study Pages (pictured at the top of this post) are from the Great Artists Picture Study Packet
Degas Art Project: Movement & Motion
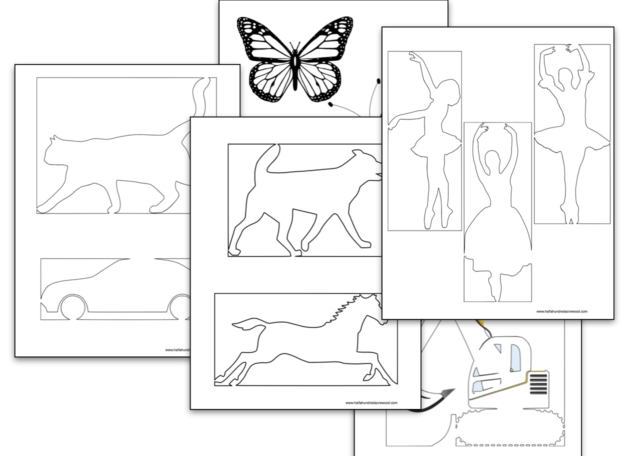
Because we decided to use crayon resist to show movement and motion in our painting, I created templates of different images: ballerinas, horses, butterflies, cars, trains, a ball, a star, a cat, a dog, construction equipment.
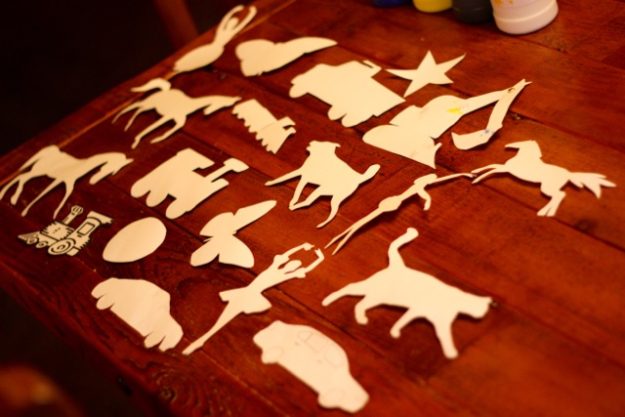
Another option is to have students create their own image to cut out and use as a template, but prepared templates made this particular project more manageable for our family.
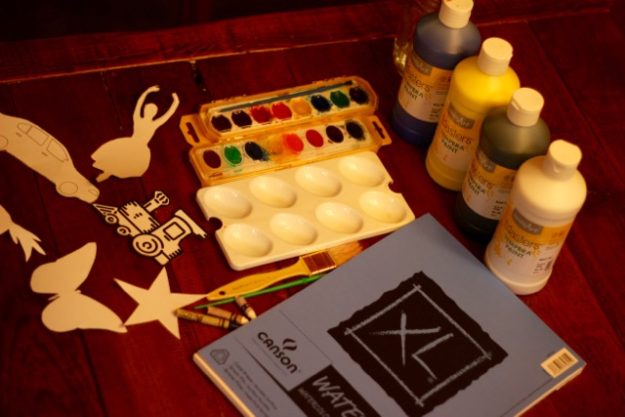
Supplies:
- Degas Art Study Pages (pictured at the top of this post) from the Great Artists Picture Study Packet
- Degas Art Templates (cut these out ahead of time)
- A brad for the excavator (if you want to use it the way we did)
- Watercolors or Tempera Paints {affiliate link}
- Paintbrushes
- Paint trays, egg trays, lids, or styrofoam plates (for paint)
- Watercolor paper
- Jar of water
- Crayons
- Paper towels & plastic tablecloth
First, we studied the Degas Art Study Pages from the Great Artists Picture Study Packet.
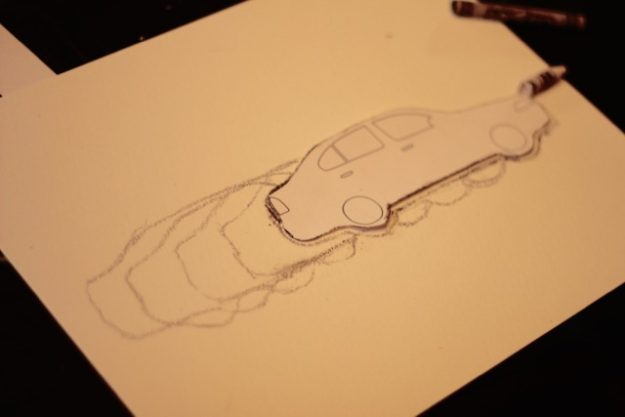
Then we grabbed some watercolor paper and traced around our templates with crayon to form the crayon resist. Here, students trace their object and then shift it over some to trace it again, and repeat, and repeat, and repeat…
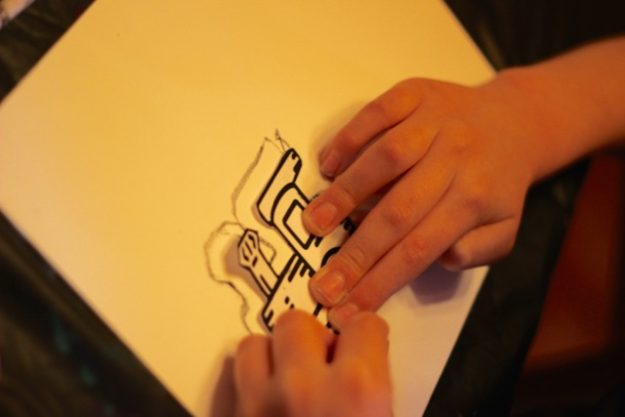
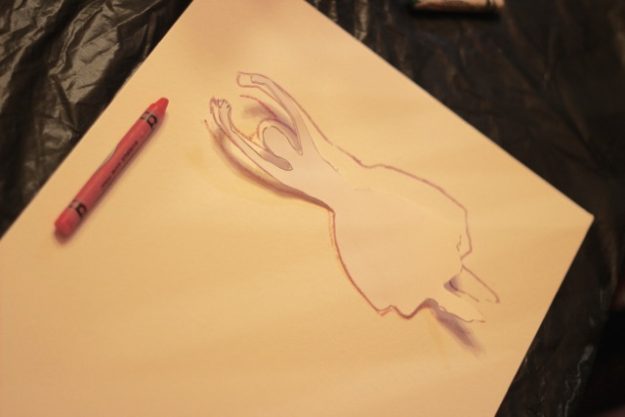
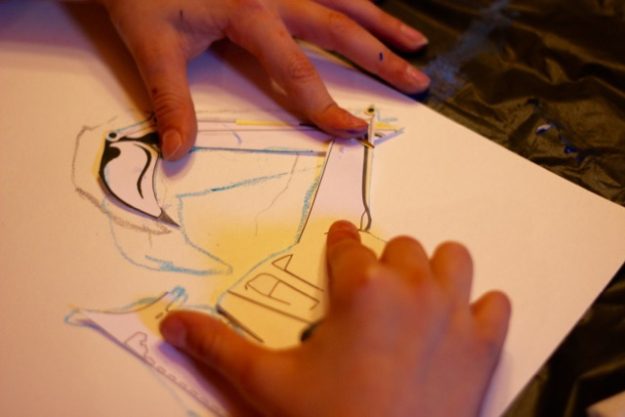
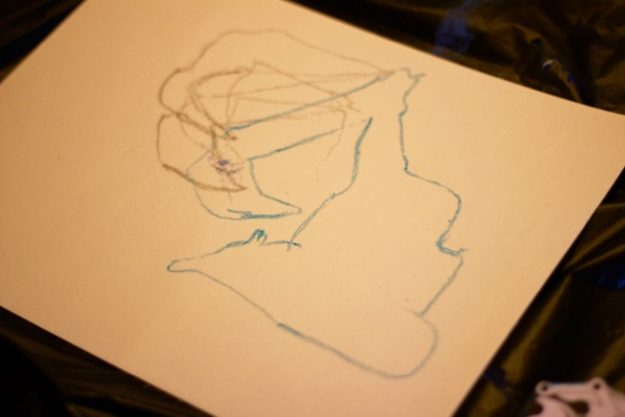
Levi decided to just move the bucket of his excavator (assisted by the brad used to connect that part of the excavator to the rest of the template).
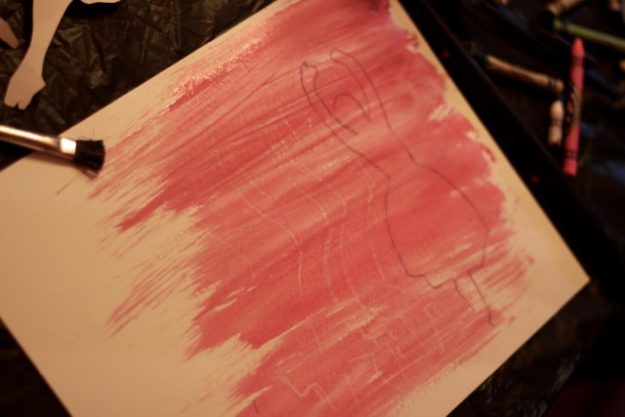
Then we used a tempera wash (watered down tempera paint) or watercolors to paint over our image. (The ballerina and train were painted with tempera wash, the car was painted with watercolors, and the excavator was painted with a combination of the two.)
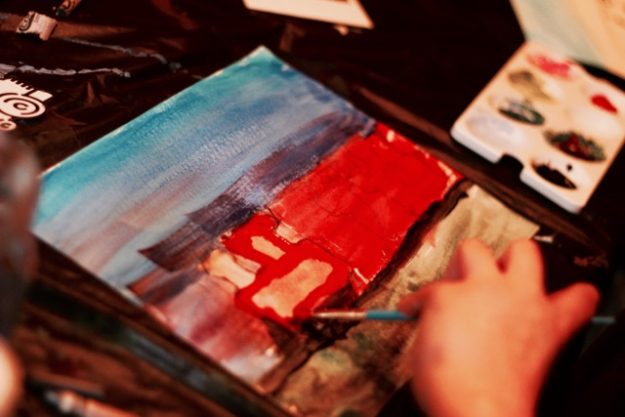
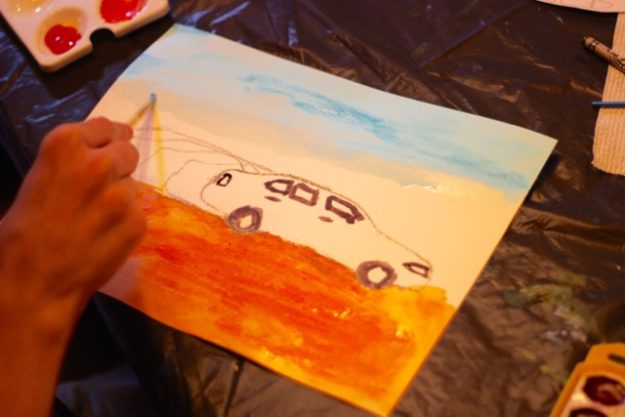
The finished masterpieces all have a unique flair to them. (To simplify this even further, though, you can have your students just paint a light assortment of watercolors across the entire image to create a general background instead of adding horizons, sky, etc. Our children just insisted on adding the extra detail.)
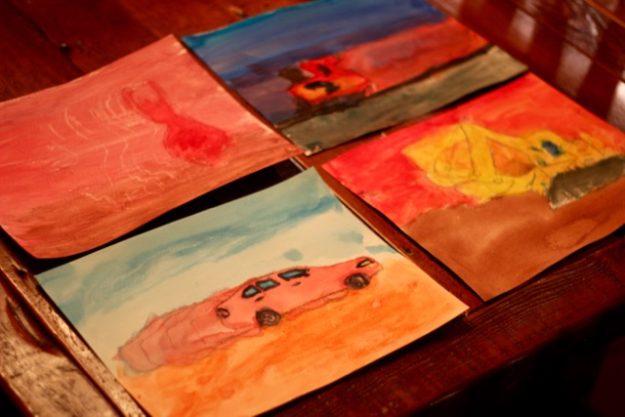
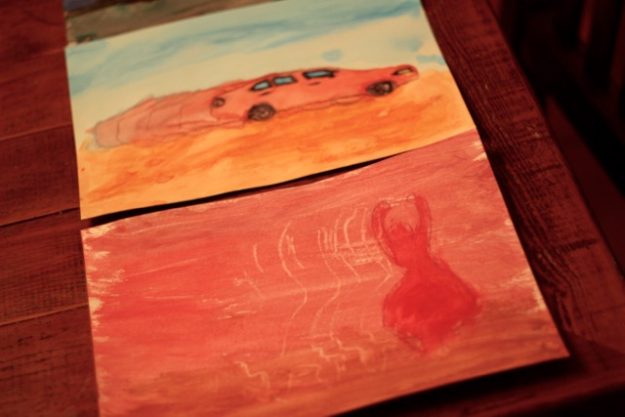
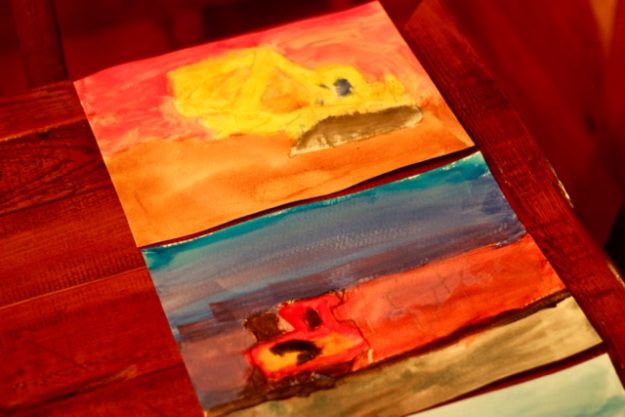
Here’s where I probably should mention that masterpieces are not really the goal of our art projects. It’s learning about an artist, practicing a technique, and using various mediums to attempt to create something lovely. Surprisingly, this art project was one of the favorites of our boys, even though it may not have turned out as good as some of the other projects we’ve done this semester. Regardless of the outcome, I love looking back at this particular project because their paintings do indeed capture a sense of motion. What’s more, it’s another sweet memory we’ve made together.
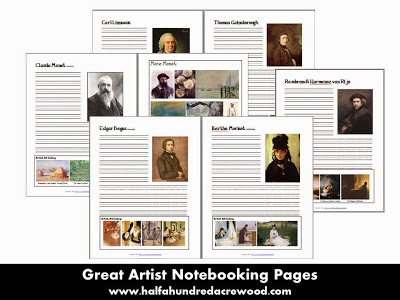
Another way to expand upon this study is by using our Great Artist Notebooking Pages.

