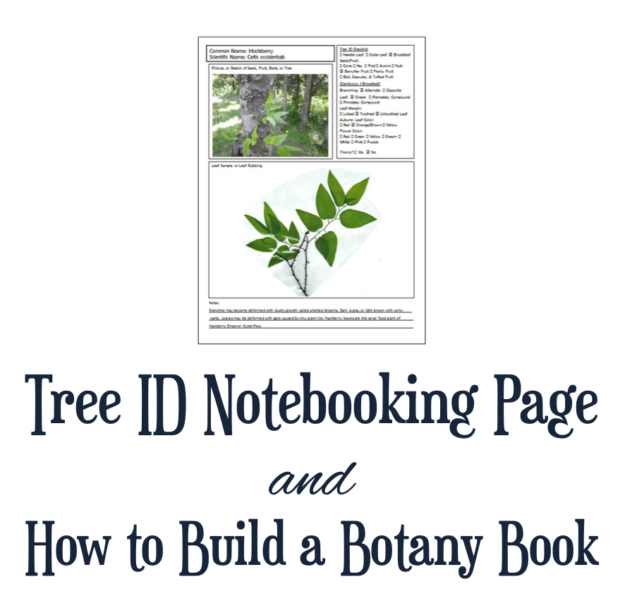
There are so many great ways to embark on a nature study of plants! After thinking about it for a week or two, we’ve finally figured out the way we want to do this! (I think!)
Whereas some nature studies focus on writing about our feelings as we observe nature, our purposes for this particular study are geared more towards learning about the physiology of trees and how to identify them. I share here how we are making a Tree ID Notebook as we study trees in greater depth this year.
Take Photos
If you use the National Audubon Society Field Guides to North American Trees as a guide for taking photos of your trees (like we did, since I’m not a professional photographer), you may want to include photos of the following:
- The bark and leaf (in a single photo)
- The fruit, seeds, and/or nuts
- The flowers
- The entire tree
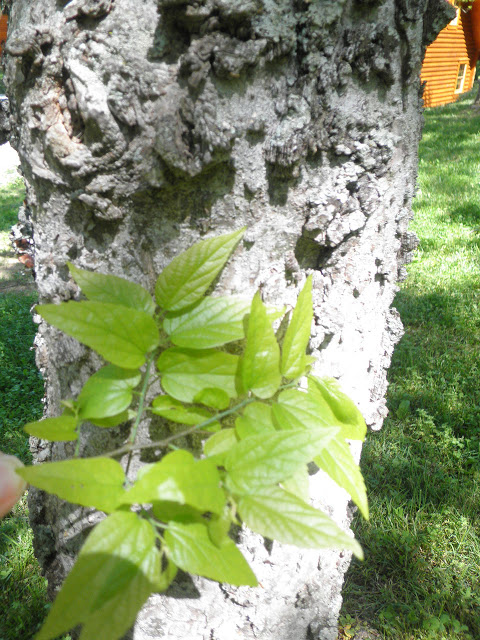 |
| Single photo of leaf and tree trunk |
Collect Leaves, Nuts, Seeds
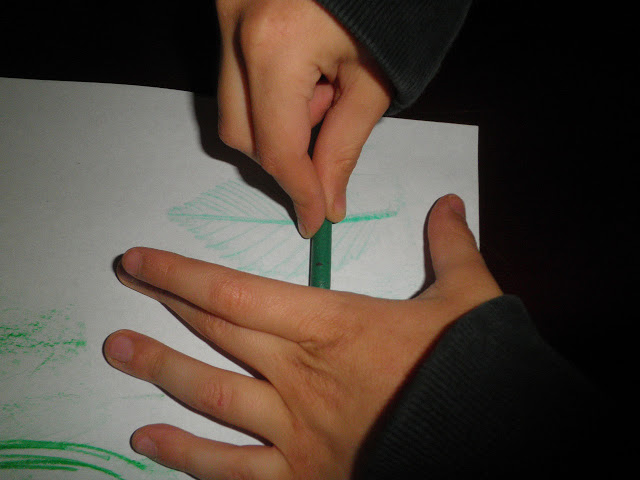
Collect samples of leaves, nuts, flowers, and/or seeds from the tree you would like to identify. Take a sketchbook with you and draw the overall shape of the tree and any patterns you see in the bark, and take note of any wildlife or other features of the tree. You may also choose to do a leaf rubbing or bark rubbing.
When collecting leaves, it’s useful to have a sample that shows the branching of the leaves to assist in the identification process.
You can identify the tree you’re studying by using a Field Guide, dichotomous key, and/or the Arbor Day Foundation Online Tree Identification Field Guide.
Press the Leaves, Flowers and/or Seeds
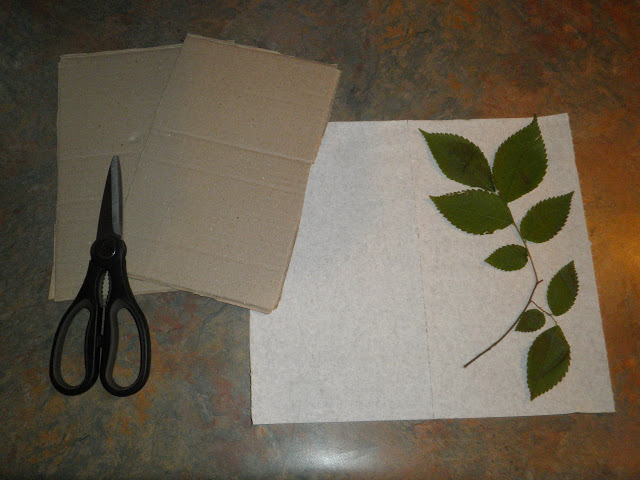
There are various ways to press and preserve leaves. Here is one way to make a simple cardboard leaf press for pressing leaves and flowers.
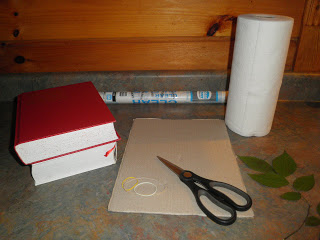 Supplies:
Leaf Sample
Cardboard
Scissors
Rubberbands
Papertowels
Heavy Books
Contact Paper (for protecting leaves)
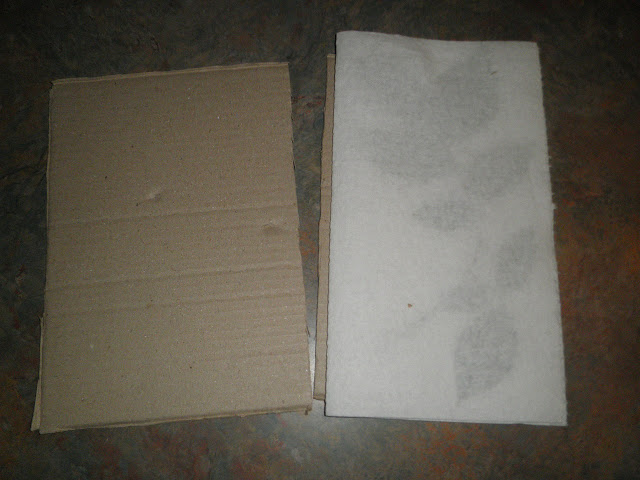
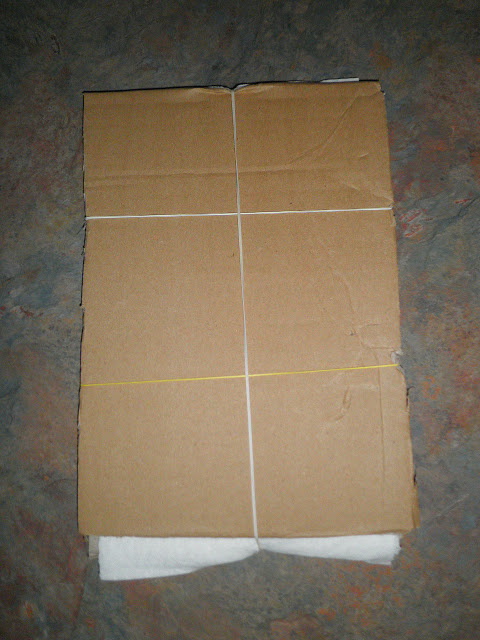
Stack paper towel (with leaves) in between cardboard. You may stack several leaf samples on top of each other between cardboard, though you may need an additional paper towel in between each sample. After stacking, place rubberbands around your homemade leaf press.
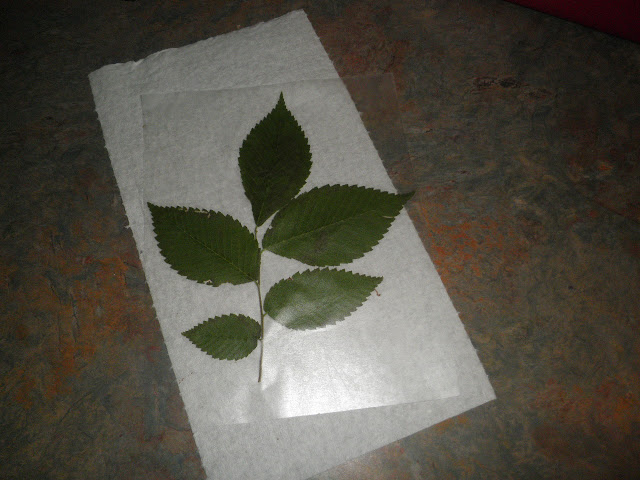
After the sample has dried, you may simply spray a clear coat on the leaves and adhere them to cardstock, or use wax paper to keep them better protected (we have not tested the wax paper method because… we are out of wax paper!). A heat laminator also works for thin samples but is not a good option for thicker samples (like Cedar). Shown below is the Contact-paper method of preserving leaves.
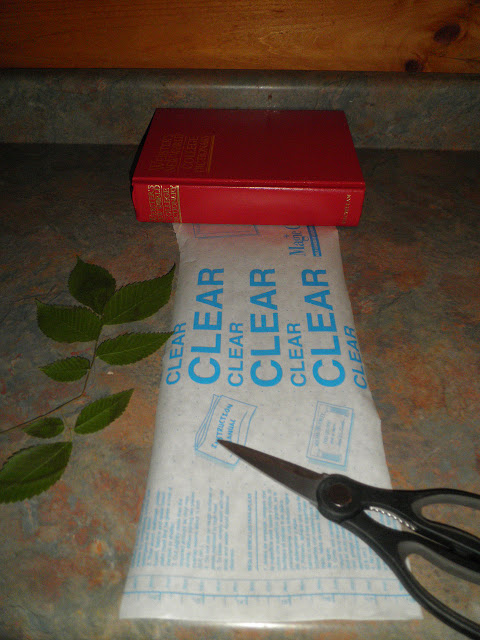
Protect the Leaves using Contact paper
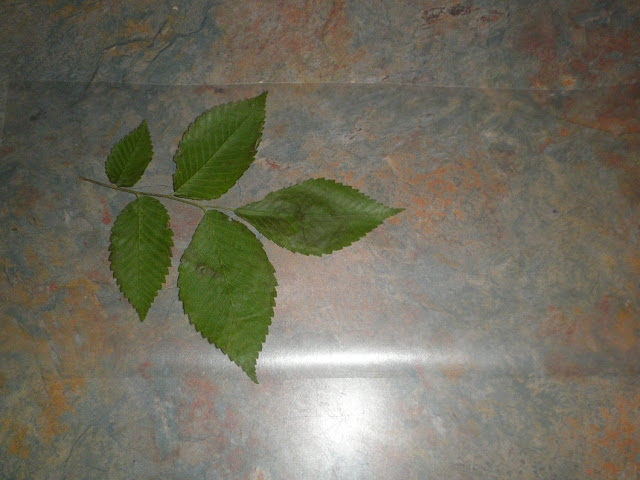
Cut the Contact paper twice as big as the sample. Lay the sample on the Contact paper and fold the Contact paper over the top. Trim as needed.
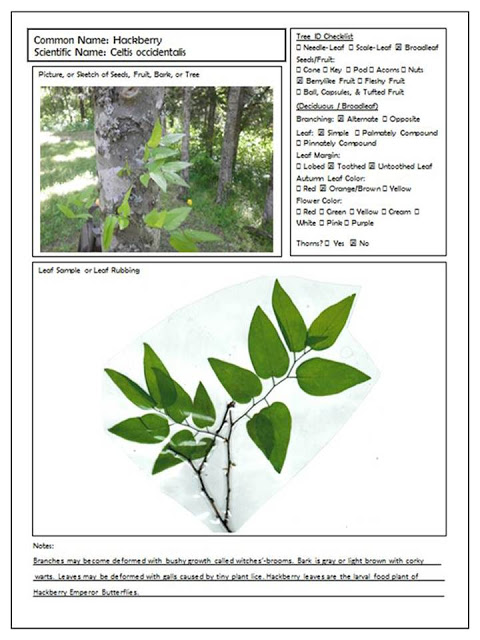
Adhere the pressed and preserved leaves onto a notebooking page. We created our own notebooking page with a short checklist to assist in Tree Identification. (Download the template here: PDF version | Microsoft Word version.) Print it on cardstock and place the finished product in a page protector for strength and durability.
This particular notebook page was pieced together on the computer by me. But the reality is that I want my children to do this, so it will not look like this in real life. For the purposes of explanation, I just wanted to show what we had in mind, in case you download the blank version and start thinking, “How in the world am I supposed to use this?!?”
Now let me just mention that I hope I’m better at identifying trees than I am at distinguishing between onions and daffodils….
Some resources that we have found useful as we embark on our nature study of plants this summer:
Arbor Day Foundation Online Tree Identification Field Guide
Join the Global Tree Banding Project by the Smithsonian Institution
Alice Dickinson’s First Book of Plants
Guide to Tree Sketching
Free Pages from Handbook of Nature Study Blog
Anna Botsford Comstock’s Handbook of Nature Study
Our Tree ID Notebooking Page
To find out more about nature study for beginners, feel free to read some of our past nature studies on bees, wasps, snails, butterflies, cicadas, earthworms, toads & frogs, and crickets & other creepy crawly critters. And guineas. Oh, wait, that was part of our funny farm memoirs…

