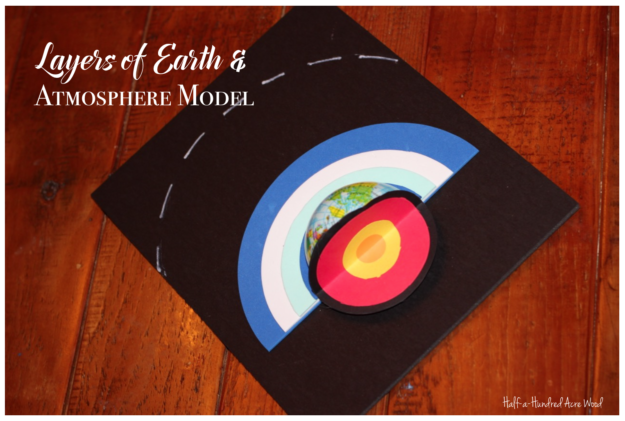
At times I come up with complicated ideas that I just can’t shake. An earth and atmosphere model using foam board, craft foam, and toothpicks was one of those complicated ideas that cost me quite a few hours of experimentation and Internet searches. (This particular idea was largely due to some pin map inspiration, although the final product is not at all related to a geography pin map.) After toying around with different mediums, different design ideas, and different adhesives, our family came up with something we really, really like. I thought I’d share the idea in case others were looking for something a little different. It turns out this model is much simpler than my original idea (thank goodness!).
Disclaimer: This project is not to scale because it is nearly impossible to create a project like this to scale. Be sure to read the details in the labels download and use it as a springboard for discussion as students compare this model to reality. A great way to explore a scale model of the atmosphere is through the How High Is It lesson from NASA, which is what we used three years ago when we were studying the atmosphere.
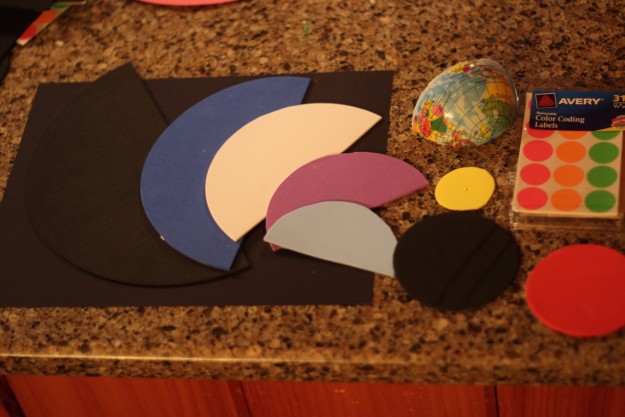
Layers of the Earth & Atmosphere Model Supplies
- Craft Foam (Peel & Stick 6×9, Peel & Stick 9×12, or regular)
- Construction Paper
- Scissors or Circle Cutter
- Extreme Glue Sticks
- Color-Coding Labels/Dot Stickers
- One-fourth of a 3″ styrofoam “squeeze” globe (Here’s the link to 1 DOZEN 3″ globes if you want to do these in a class setting) – Just remember that one squeeze globe will make 4 quarters.
- Tacky glue and super glue
- 8″x10″ Black Foam Board (bulk quantity 25-pack)
- Chalk Marker
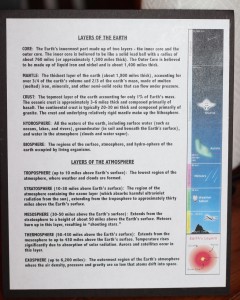
- Layers of Earth & Atmosphere Labels download
- Earth Model Template download
How we made it
Step 1: Cut out a bunch of circles and half-circles of varying sizes using a Cricut or other type of circle cutter, or you can use this Earth Model Template along with a handy pair of scissors. (You’ll need a total of 4 concentric circles for the layers of the earth and 5 larger concentric semi-circles for the layers of the atmosphere, plus two additional circles the size of the crust template to cut in half and stack as mentioned in Step 4.)
Step 2: Make a construction paper model of the earth. Glue together: Crust, Mantle, Outer Core, Inner Core.
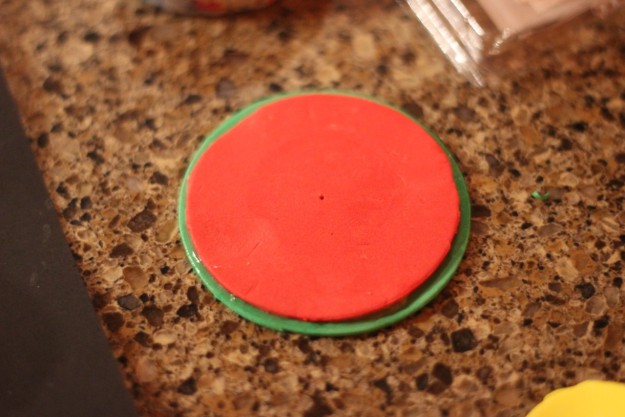
To eliminate cutting the smallest circles (inner core), I opted to use Avery Color-Coding labels for the inner core.
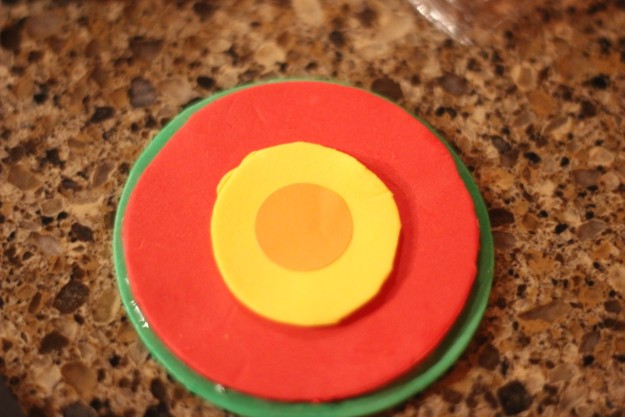
After my first attempt using craft foam for the layers of the earth, I decided to switch to using construction paper. It bends much more easily.
Step 3: Build an atmosphere model with craft foam semicircles. Using glue sticks or self-stick foam, adhere the Thermosphere layer to the black foam board and stack/glue on top the Mesosphere, Stratosphere, and Troposphere. Use the exosphere template to trace a dotted line for the exosphere using a chalk marker or white paint pen. This entire step is shown below as sub-steps 1-6.
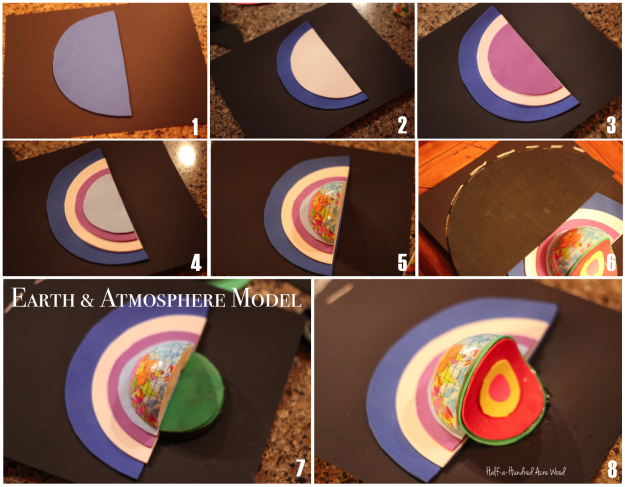
Step 4: If you have not already done so, cut the 3″ Styrofoam “Squeeze” Globe (which is not a stress ball; I’m not sure why they call them squeeze globes, actually) into fourths and adhere one fourth of the globe to the top of the troposphere layer as shown in sub-step #5 in the above image. (I used tacky glue for the permanent bond and a couple of dots of superglue for a temporary bond until the tacky glue holds.) Also stack and glue 4 semicircles (the green semicircles in pic #7 above) to the foam board for proper alignment when you glue the construction paper layers-of-earth model in place.
Step 5: Fold the construction paper layers-of-earth model in half and then glue in place. (Shown in sub-step #8 in the above image. Again, I used tacky glue for the permanent bond and a couple of dots of superglue for a temporary bond until the tacky glue holds. A glue gun works, too.) The above photos show the craft foam layers-of-earth, but the photo below shows it with construction paper.
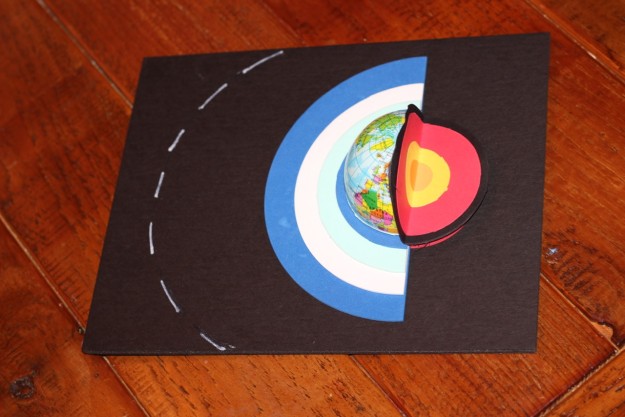
Step 6: Trim and glue the answer key (Layers of Earth & Atmosphere Labels) to the back of the foam board.
Now we will display our earth & atmosphere model in a frame like these (without the glass) to hang in our art gallery. Not only that, it can be used as a visual aid for practicing recitation of the parts of the earth and layers of the atmosphere!
Hmmmm…. Okay….
Well, after all that, you are quite possibly convinced that play-doh and paper are much better mediums for making simple earth/atmosphere models to which I would say… you’re probably right. However, if you are liking this idea and have questions, please feel free to shoot me a message or leave a comment!

