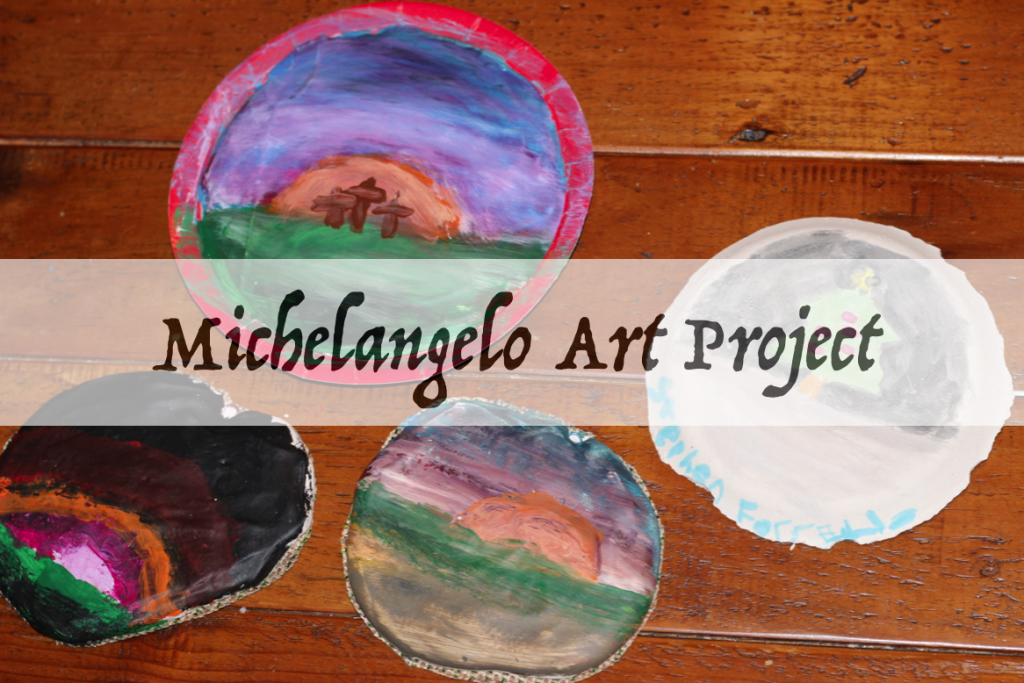
In my before-homeschool-co-op-directorship days, I avoided messy crafts at all costs. But now… ’tis time to prepare for a group of homeschoolers… and a Michelangelo art project.
I’ve heard of others using air-dry clay or model magic to avoid plaster of paris, but we have a huge tub of plaster of paris to use up, so here we go…
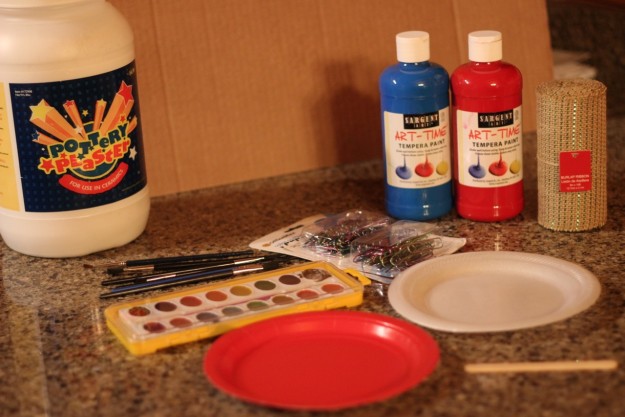
Supplies needed for fresco Michelangelo Art Project
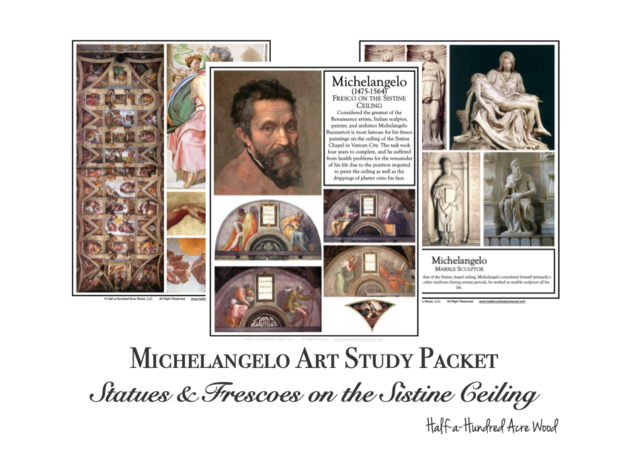
- Michelangelo Picture Study Pages (pictured below) from this Great Artists Picture Study Packet
- Plaster of paris
- Water
- Disposable container
- Craft (popsicle) sticks
Plates or moldsBurlap ribbon- Paper clips
- Scissors
- Cardboard
- Spray bottle
- Tempera paints or watercolors & paintbrushes
And now for the procedure…
First, we studied the Michelangelo Art Study Pages from the Great Artists Picture Study Packet. (Print out the Michelangelo Art Study Pages and discuss with your student(s) to incorporate picture study and art appreciation.)
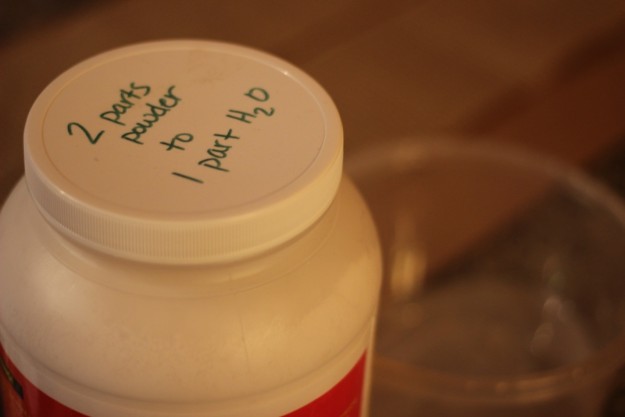
Step 1. Mix up some plaster. (I found that 2 cups of plaster + 1 cup of water resulted in 4 frescoes on a 5″ x 24″ piece of burlap ribbon. Using small dessert plates for molds resulted in two frescoes with that amount of plaster.)
We attempted fresco plaster blanks using both plates and burlap.
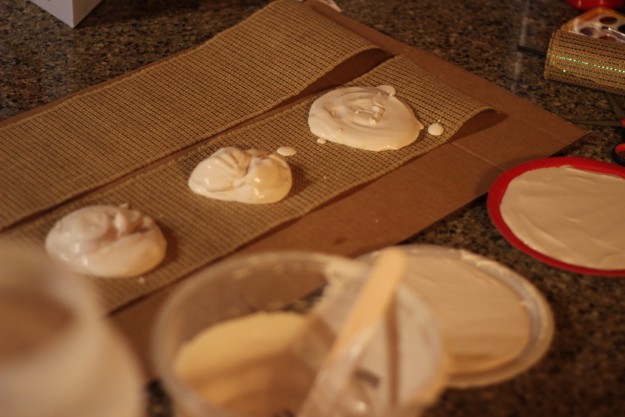
Step 2. My plan was to take the plaster out of the styrofoam plate mold, so I inserted a paper clip for future hanging.
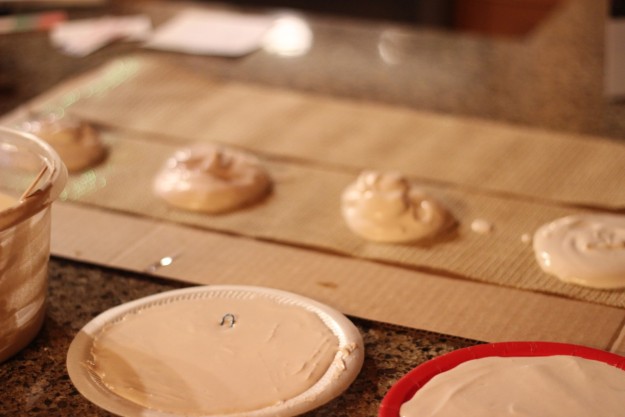
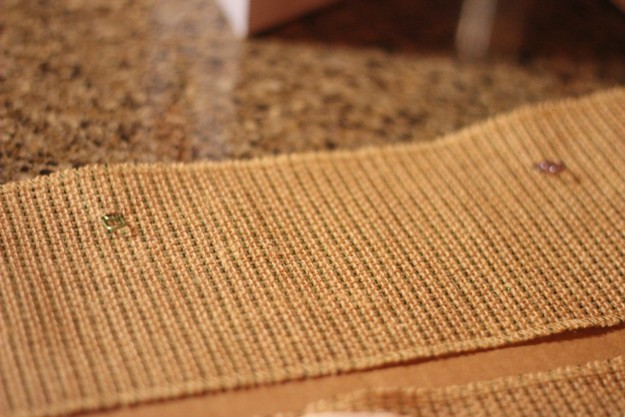
Then I realized we would need the same for the burlap, so I cut a slit into the burlap for each fresco and inserted a paper clip.
Step 3. Here’s where I broke away from what I was supposed to do for a buon (true) fresco painting. After smoothing out the plaster, I allowed it to dry overnight.
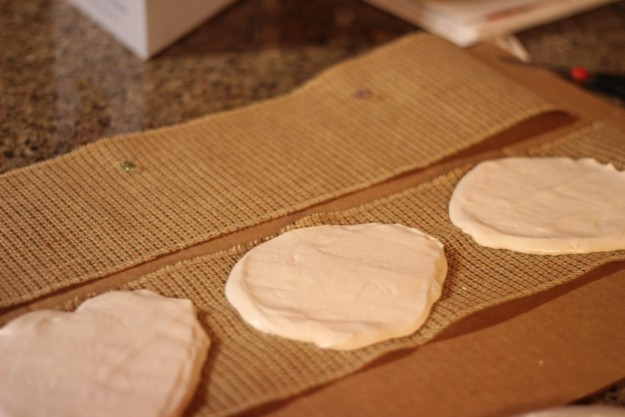
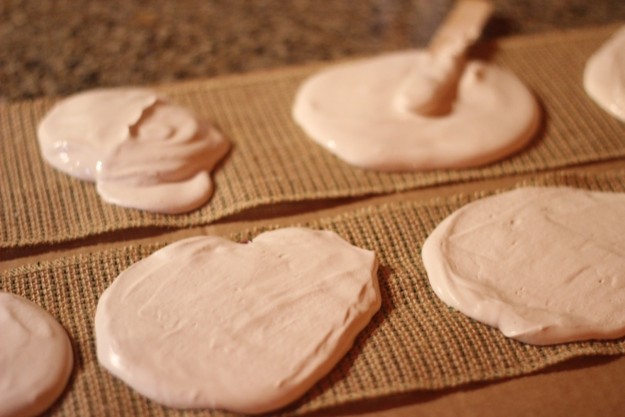
Now why would I do that? Well… for convenience. We’ll only have 30 minutes to complete this project on campus, and it will give students more time to paint and require less cleanup if I make the molds for our community ahead of time. (I’ve also thought about making the molds just before each class, but not sure I’m up for that extra challenge on community daze days.)
Step 4. Spray the molds with water. (This is more of a fresco-secco, a technique using dry plaster that’s been moistened. The colors do not penetrate as deeply as they do with a true fresco. A true fresco is a painting in watercolor on wet plaster where the watercolors penetrate the plaster deeply and become fixed as it dries.)
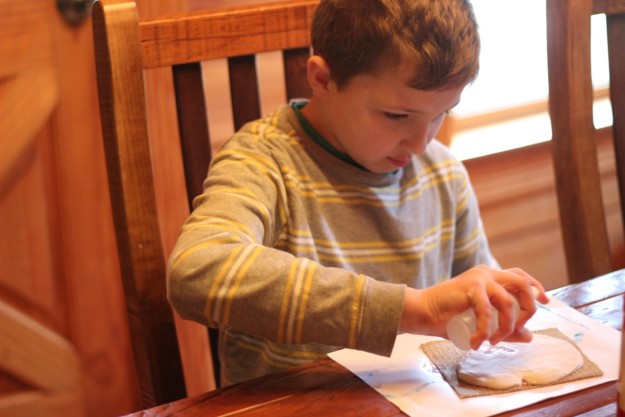
Step 5. Paint with watercolors or tempera paints.
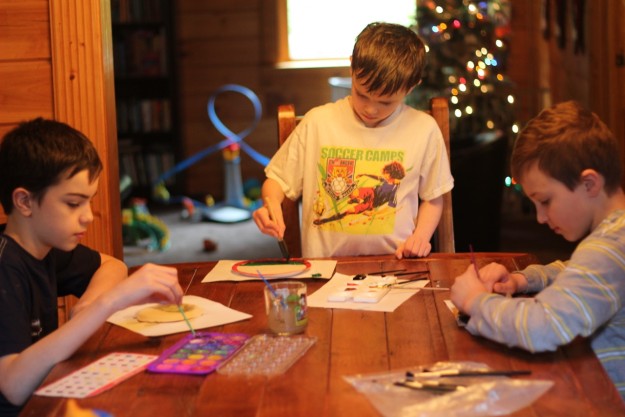
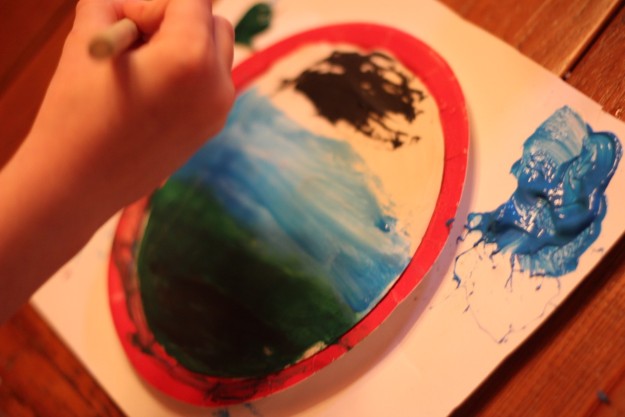
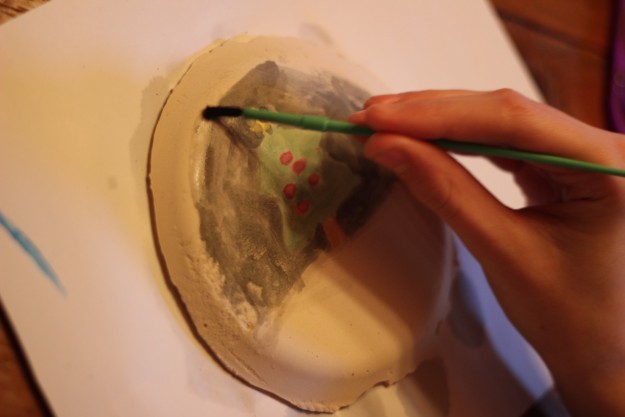
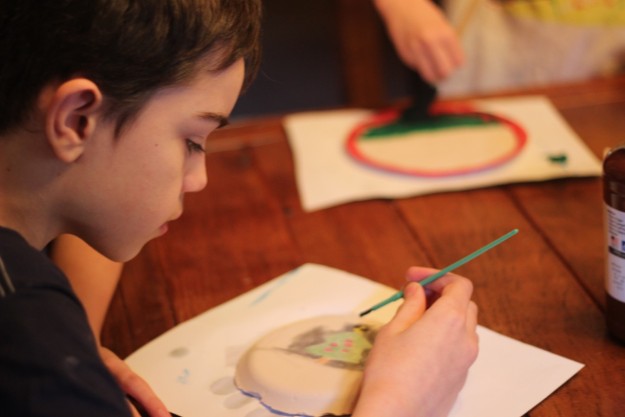
Stephen (pictured above) painted with watercolors, and the other two boys painted with tempera paints. To better seal the paints in a fresco-secco, you can brush a layer of white glue on the surface. You can also brush a layer of glue on the back of the burlap mold to increase its durability.
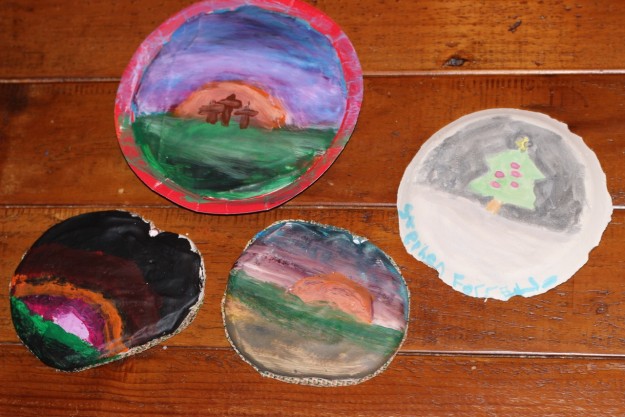
Christmas (or Easter?) in the style of Michelangelo (without the nudity, of course):
A few thoughts (from a novice)
I originally hoped to leave the top “fresco” (in the red plate) in its plate to hang, but now I don’t even want to hang it on our art gallery wall because I’m afraid it will fall out. Stephen’s “fresco” was from a styrofoam plate mold, and it’s already chipping. The molds I made on burlap are much stronger and are my chosen avenue for our fresco plasters. (I ended up purchasing several spools of burlap ribbon last year at a deep discount after Christmas.) I’m also hoping to use the distressing technique mentioned in this video.
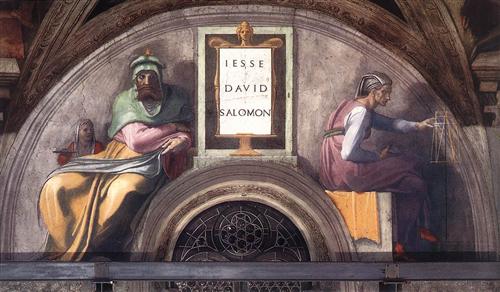
If you’d like to show your children a safe example of Michelangelo art, try this one from the Ancestors of Christ (Sistine Chapel).
I like the convenience of making plaster molds before our co-op day, but I also like the thought of using the real fresco technique. Any thoughts? Please feel free to share your ideas and experience in the comments! 🙂
For our other art project posts visit…
Giotto Art Project
Ghiberti Art Project
Angelico Art Project
Durer Art Project
El Greco Art Project
Other Great Artist Projects
Other related posts:
Great Artist Coloring Pages
Fine Arts Notebooking Pages
Great Artists Study
Art Appreciation through Art History

