Here’s where my love of rocks meets my love of teaching.
I keep coming across a recurring question amongst moms when it comes to earth science: What on EARTH do we do with all these rocks?
Most of what I’ve found regarding rocks and minerals is complicated to sort through – and a bit complicated to understand. After a bit of lesson planning, testing those lessons on my own children, and modifying and re-testing, I think we have a winner!
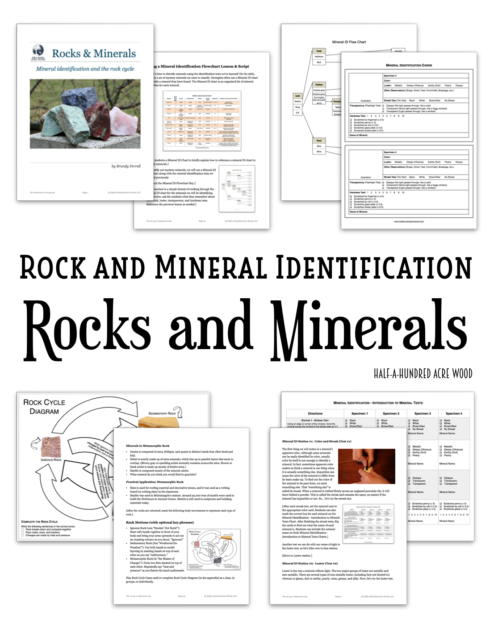
This study introduces mineral identification in two ~30 minutes lessons. The first lesson teaches children some of the tests that geologists use to identify minerals and is set up as four stations. The second follows up with a mineral identification exercise using a flowchart to identify a set of mystery minerals. These two lessons use the minerals from the relatively inexpensive (<$10) Toysmith Mineral Science Kit. (An additional lesson on rock identification also uses the Toysmith Rock Science Kit.)
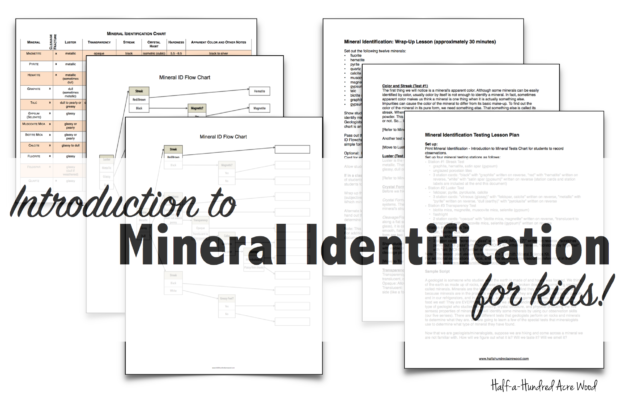
Scroll down for a broad overview of what is included in the lesson plan, or purchase a formatted PDF digital download of the entire Introduction to Rocks and Minerals Lesson and Activity Packet for three fully-scripted lessons on rock and mineral identification, along with corresponding printables and activities. Our lesson packet includes two fully-scripted lessons on mineral identification with printable charts and activities, plus an additional lesson on learning about and identifying rock types and how the rock cycle works. Click here to download a sample of our Rocks and Minerals Lesson Packet.
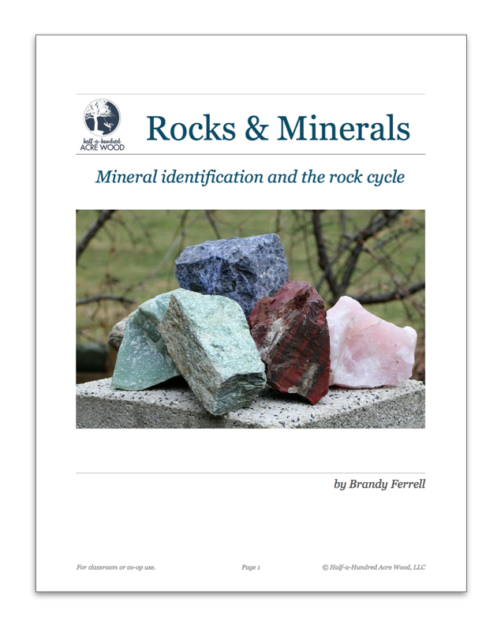
Introduction to Rocks and Minerals Lesson Packet
Format: PDF Download (Mac & PC Compatible), 38 pages.
Price: $19.99 for a classroom or co-op license


Format: PDF Download (Mac & PC Compatible), 38 pages.
Price: $7.00 for a family


Lesson 1: Mineral Identification Stations
The main purpose of this lesson is to introduce children to the tests that mineralogists perform on minerals.
Use the Introduction to Mineral Tests Chart (included in our Introduction to Rocks and Minerals Lesson Packet) for students to record observations.
Set up four mineral testing stations as follows:
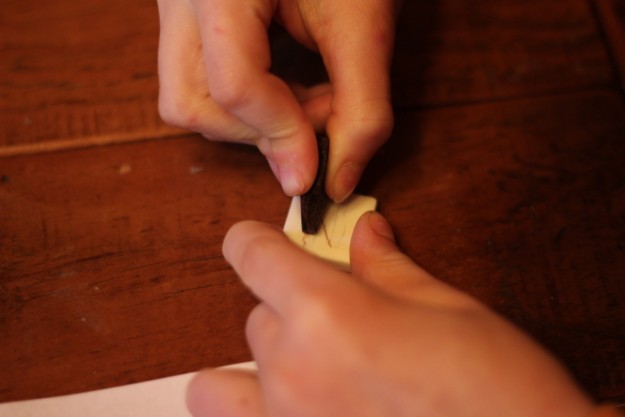
- Station #1 Streak Test
- Station #2 Luster Test
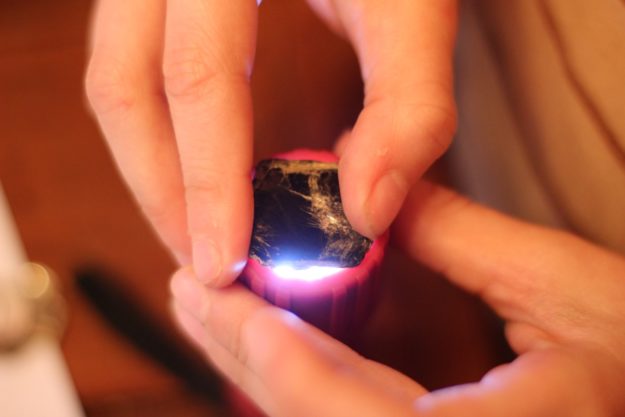
- Station #3 Transparency Test
- Station #4 Hardness Test
Other tests mineralogists use for identification are mentioned in the lesson plan, but for the sake of time and because they require more accuracy and background knowledge, those tests are not included as stations. (They are written into the script, however.)
An example of a station:
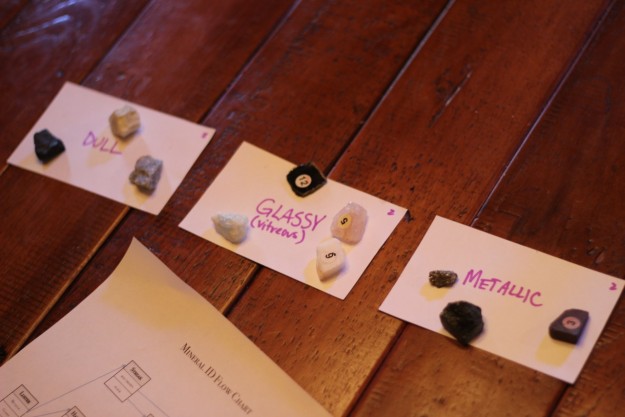
The station idea came about because it’s much easier to set up several areas with specific minerals than to switch gears and re-set up for each test. The stations we completed at home included many more minerals than are written into the lesson plan because I decided to divide up the minerals in the Mineral Science Kit amongst the four stations so that the minerals would not need to be carried to each station. Because we are simply learning the tests in this lesson, it’s okay to not use the same minerals for each test.
The first station is streak because it relates to the mineral’s color, which is the first thing we notice about a rock or mineral.
The second station is luster because it is another visible quality of minerals that does not require any tools for testing.

The third station is transparency because it is another simple test which only requires a flashlight. Here we categorize our minerals as opaque, translucent, or transparent. (Explanations for each are included in our Introduction to Rocks and Minerals Lesson Packet.)
The final station is hardness. You might want to download and print a Mohs Scale Chart for reference. (A Mohs Chart is included in our Introduction to Rocks and Minerals Lesson Packet). Test the minerals using a glass plate, a penny, and a fingernail.
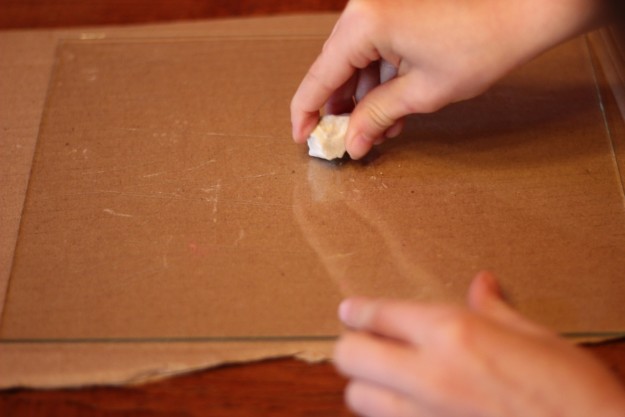
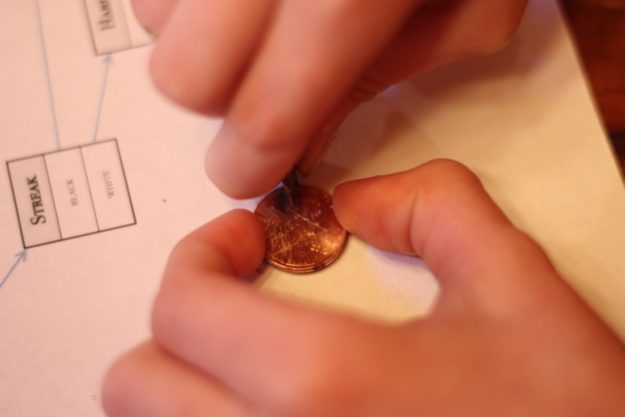
Use these three tests to sort the minerals according to hard, medium, and soft. (A detailed explanation and card labels are included in our Introduction to Rocks and Minerals Lesson Packet).
The lesson plan includes questions and extra dialogue for closing out the lesson, along with station cards that can be used as a simple way to self-check.
If you plan to use other mineral tests, such as density, fracture vs. cleavage, and acid/magnets, an additional 8-test mineral identification station observation chart is included in our lesson plans. This chart allows you to record the results from eight different tests instead of just four.
Lesson 2: Mystery Mineral Identification
Now it’s time to identify minerals using the tests! Using most of the minerals from the Mineral Science Kit, we referred to a our customized Mineral ID Flowchart that was designed as a graphical representation of a more traditional Mineral ID Chart. The flowchart made it much easier for our boys to identify and sort the minerals. (Scripted lesson plans along with these charts are provided in our lesson packet.)
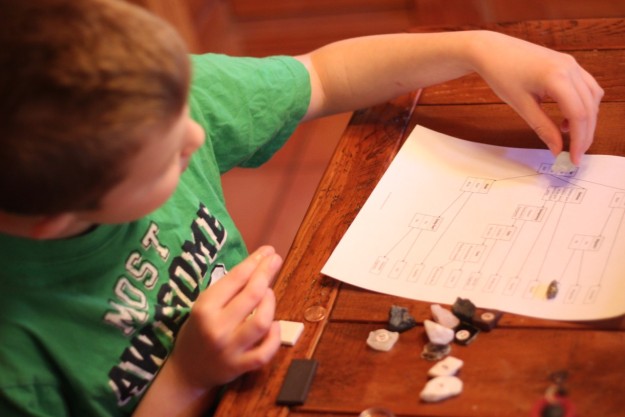
Students select a mineral to identify and work through the flowchart, using appropriate mineral tests, until they identify the mineral.
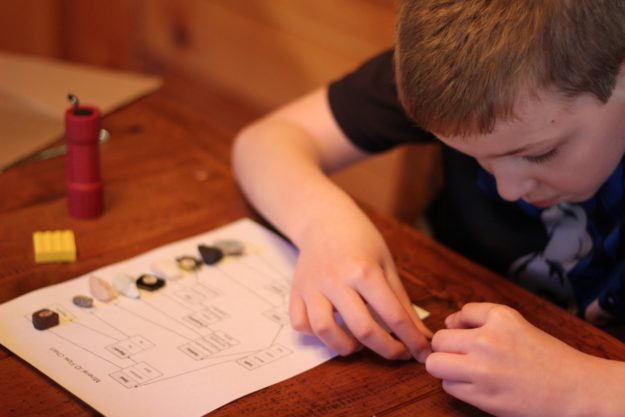
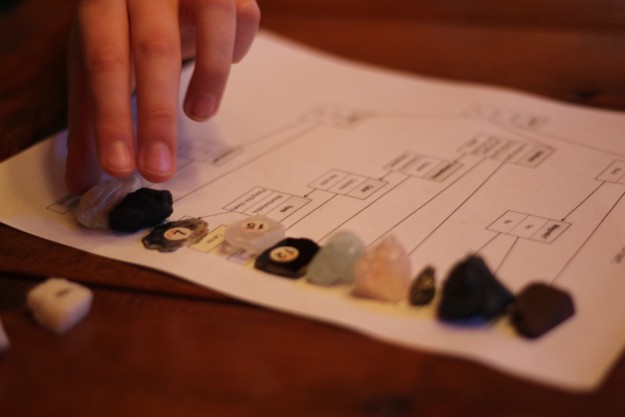
Our boys were able to identify all of the minerals using the flowchart, and they really enjoyed the activity! There are details included in the lesson plan for using the flowchart identification in a small class setting.
As students identify minerals, they may also want to record their observations on Mineral ID Cards, which are also included in our lesson packet. Options for more advanced students are also suggested.
Again, these documents use the minerals found in this this mineral identification kit.
I’m hoping this study eases the intimidation that some feel with studying rocks. Really, most children love exploring the earth – and they probably even have their own rock collection. I close with a prayer that is often upon my heart:
May God open our eyes and hearts to experience the same sense of wonder that our children possess.

Purchase the Introduction to Rocks and Minerals Lesson Packet – Classroom or Co-op License
This 38-page resource provides complete lessons for teaching mineral and rock identification to children through the use of mineral identification stations, hands-on activities, and simple charts. Note: The Toysmith Rock Science Kit and Toysmith Mineral Science Kit will be needed for these lessons. Click here to download a sample.
Format: PDF Download (Mac & PC Compatible), 38 pages.
License: For use within a classroom or co-op of up to 60 children.
Suggested grades: K to 6 (although resources may be used for older students as well)
Price: $19.99 for a classroom or co-op license


Purchase the Introduction to Rocks and Minerals Lesson Packet – Family License
This 38-page resource provides complete lessons for teaching mineral and rock identification to children through the use of mineral identification stations, hands-on activities, and simple charts. Note: The Toysmith Rock Science Kit and Toysmith Mineral Science Kit will be needed for these lessons.
Format: PDF Download (Mac & PC Compatible), 38 pages.
License: For use within a single family.
Suggested grades: K to 6 (although resources may be used for older students as well)
Price: $7.00 for a family


